Down to the Studs: Your Ultimate Guide to Interior Demolition
If the rebuild of your home extends beyond a coat of paint and a new flooring project, then this guide will suit you. It will be your walking beginner guide to have your home gutted without having to spend too much budget or decrease property resell value.
How to Turn Your House Inside Out
If you’re doing a complete gutting on a house, you take it “to the studs”. Essentially what this refers to is the complete removal of everything inside, including ceiling fixtures, drywall, and insulation. All you have left are the beams and unfinished flooring and thus are putting the bones of the building in picture.
How Much Does It Cost to Gut a House?
The cost of a gut could differ according to the locality, home size and material qualities the individual intends to use. Actually any homeowner would have indeed spend an average of $44,850 for a studs-out remodeling. Hiring a contractor can result in additional fees of between $4,600 and $9,200.
One good way is to go and cut down unnecessary costs: It is a do it yourself venture. Through this, you will need to have the right tools, safety gear, dumpster rental, and your time to successfully complete a demolition and save hundreds or even thousands.
One of the most significant advantages of gutting your project yourself is saving money that you would end up hiring for the work. When you do this kind of work, you are the one in charge of the budget, plus it makes it clear to any other contractor or engineer just what they are working with and perhaps even steering away from unexpected costs later on.
1. Plan Your Gut Renovation
Demolition gets real messy, real quickly, and sometimes it is even dangerous. You need a really detailed plan once you decide to start gutting. If you don’t know what you’re doing, you might be wasting your money and equipment on something not worth the effort.
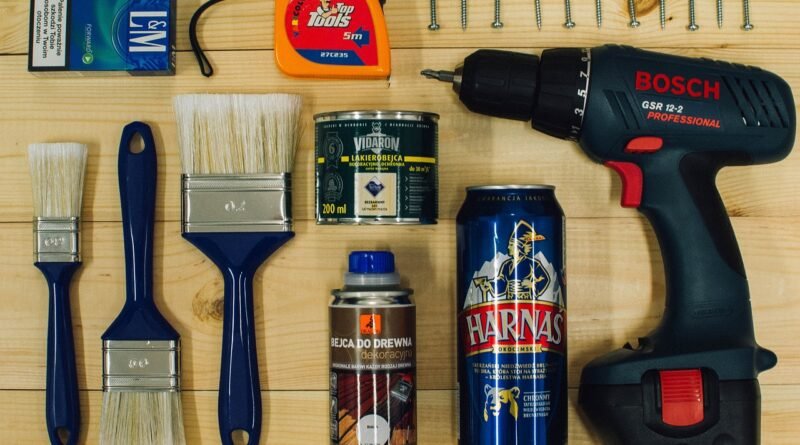
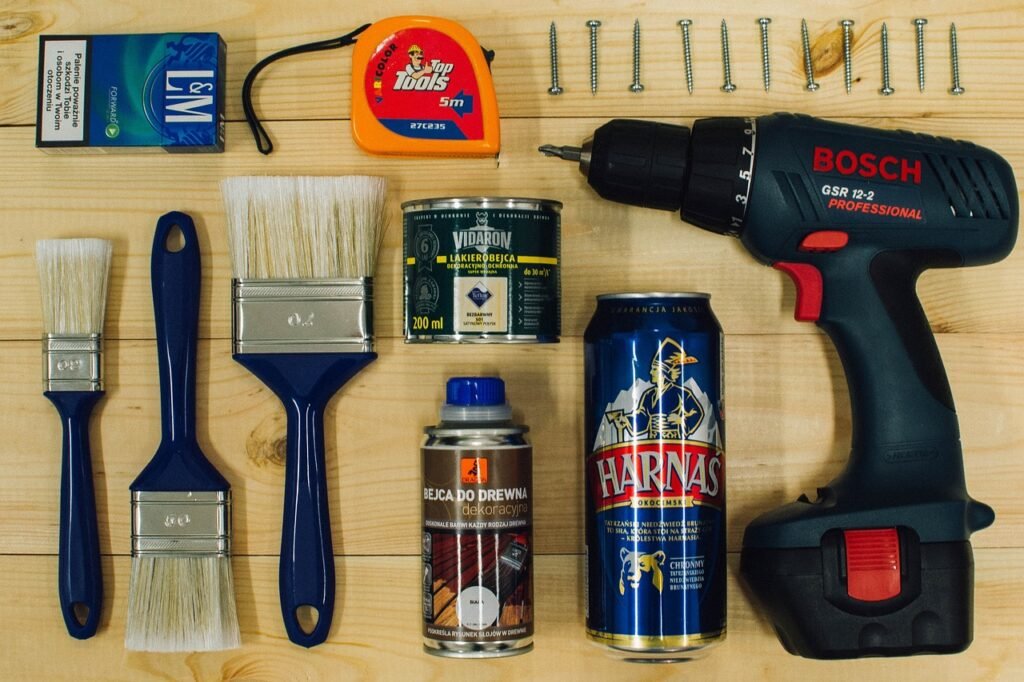
Absolutely Must-Have Tools for Interior Demolition:
Sledge hammer
Circular saw for rotation edges
Crow bar
Dangerous goggles
Hard hat
Steel-toed boots
Dumpster rental
Give yourself a moment to gather up all the tools, then look inside your house. Behind walls there are usually plumbing, electrical wiring, and pipes. So get hold of those points very perfectly to avoid swinging your sledgehammer. If you do not know, you are supposed to have a plumber or electrician draw those areas down for you.
Moreover, before starting, develop a list of renovation goals for each specific room, prioritize them, and adhere to planned expenditures.
2. Ready Room for Demolition
Prepare for a significant mess that will come about—dust, debris and whatnot. The best means to protect whatever furniture pieces you have are to cover them with plastic sheeting. If you’re going to refinish your floors, cover them with a tarp as well.
Don’t forget to shut off the utilities! Try turning off lights, water, and gas before you start. This will not only secure your house but will prevent some accidents while you’re working.
3. Removing Interior Walls
Use these steps to get a wall down: First, check if the wall is load-bearing. Call a professional if, in any case, the wall belongs to the part of the structure that holds the foundation of your home. Collapsing a load-bearing wall without the appropriate levelling can cause major destruction.
If the wall is non-structural and doesn’t have piping or electrical wires, take it down like this:
Turn off the energy in that area.
Move any pictures, decorations, or furniture away from the wall.
Use a hammer to tap between studs until you make a hole.
Rip the drywall with your hands or a crowbar (wear gloves!).
Pull out any remaining screws and studs.
Repeat until all non-structural walls have been eliminated.
Really, safety first! Make sure you put on dust goggles and a mask before getting any farther in this project. Now your room should be naked and ready for the next step.
Essential tools are going to be; after clearing, but then for the mess being cleared off the house, it is your to-do-list:
This has a lot of these items to consider installing after evacuations:
Check electrical and plumbing systems.
Rewire all the electricals and plumbing to ensure that they are still whole after the delt away walls.
Rewiring may mean swapping out old light fixtures or outlets for the new aged home.
Cover a hole: Nicked a wall that isn’t meant to come down? Automated drywall installation, insulation, and caulk can cover it up.
Build the cabinets: Like the new touch-ups on your walls and floors, they should house these beautiful cabinets.
New floor covering: All new floors you’ve been waiting for? Or, you’ve forgotten to cover the old ones flooring should now be fitted new: laminate tile, hardwood, or whatever your favorite type is.
Paint the walls so that a fresh color gives a final change to the house.
5. Arrange the Clean-Up
A lot of waste during the gutting of a house should prompt you to make a cleanup plan. Make sure you organize for a dumpster to quickly and systematically remove debris. It is wise to keep the site clean as you go to avoid piling up waste.
It does not matter what your project scale is because Budget Dumpster offers suitable solutions according to your project. Also, we ensure that the accumulation of decors is drawn down after you are done.
Complete Your Studs-Out Remodel
Now that you have ripped out the old and enhanced your home with new surroundings, it is now time to enjoy the last and lasting touches. You can update kitchen and bathroom items and unlimited more in your home to achieve that lasting impression. Are you looking for some more help? Don’t worry; we are right here with great tips for ending your dream house.
Ready to make that space new again? Let’s start!
Looking for even more expert tips?
Browse the blog for step-by-step guides that offer ideas for every area of demolition down to the design stage.
The message is even more dialogic this time around, opening up the possibility of becoming personal. The essence and what must be done remain exposed.